One of the skills that I ended up practicing frequently when I was in graduate
school was making slide decks for talks. As a Racket developer, my tool of choice
was #lang slideshow,
a programming language for building slide presentations.
(Slideshow was the topic of an ICFP 2004 paper by Findler and Flatt)
The advantage of using a programming language to build slides is that it gives you the ability to re-use abstractions to create diagrams in slides, or to embed executable code snippets directly in the slides (preventing regrettable typos in code samples).
On the flip side, using slideshow can result in a slide deck that has a "slideshow look" because it's easy to just stick to the default styling and let the slide automation do its thing.
In this blog post, I'll provide a short tutorial on slideshow and also some basic tips on how to make a slide deck that avoids some of the "slideshow look". I'll also go over a few advanced slideshow tricks near the end.
The basic operation of slideshow is pretty straightforward. The following snippet creates a slide with a title and renders it as shown below:
(begin (require slideshow)
       (slide #:title "Hello")))

(the begin is not necessary if you're using DrRacket or the
Racket command-line in most cases. It's there because of a limitation in
the macros I'm using for this blog post)
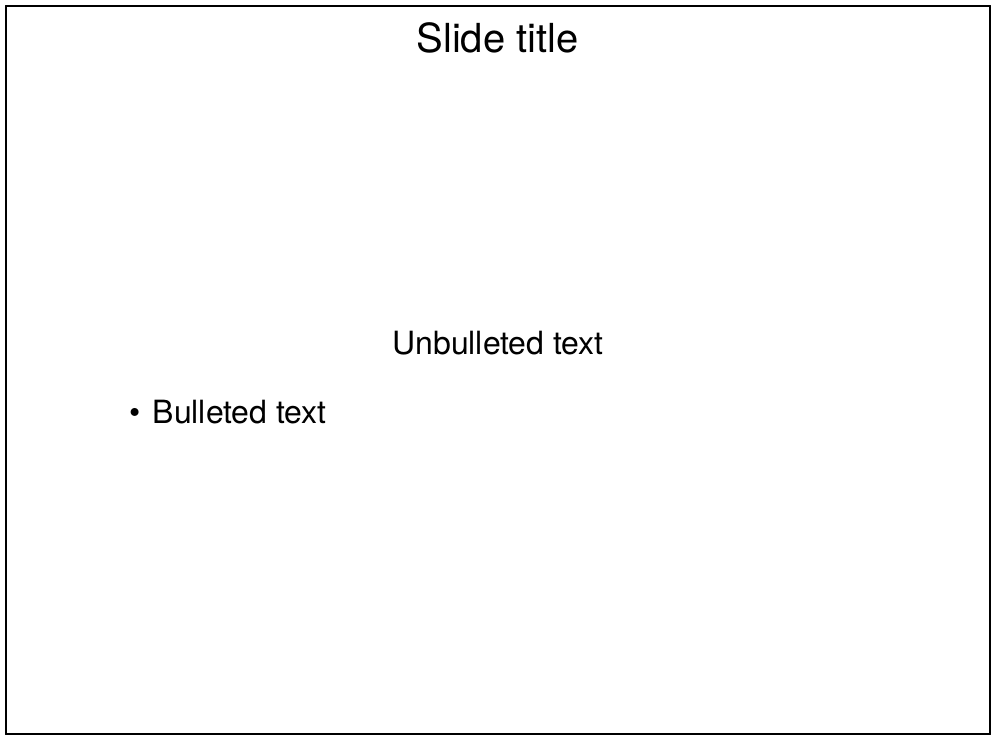
You can also add standard things like text and bulleted text. Items listed consecutively are laid out top-to-bottom by default:
(slide #:title "Slide title"
  (t "Unbulleted text")
  (item "Bulleted text")))
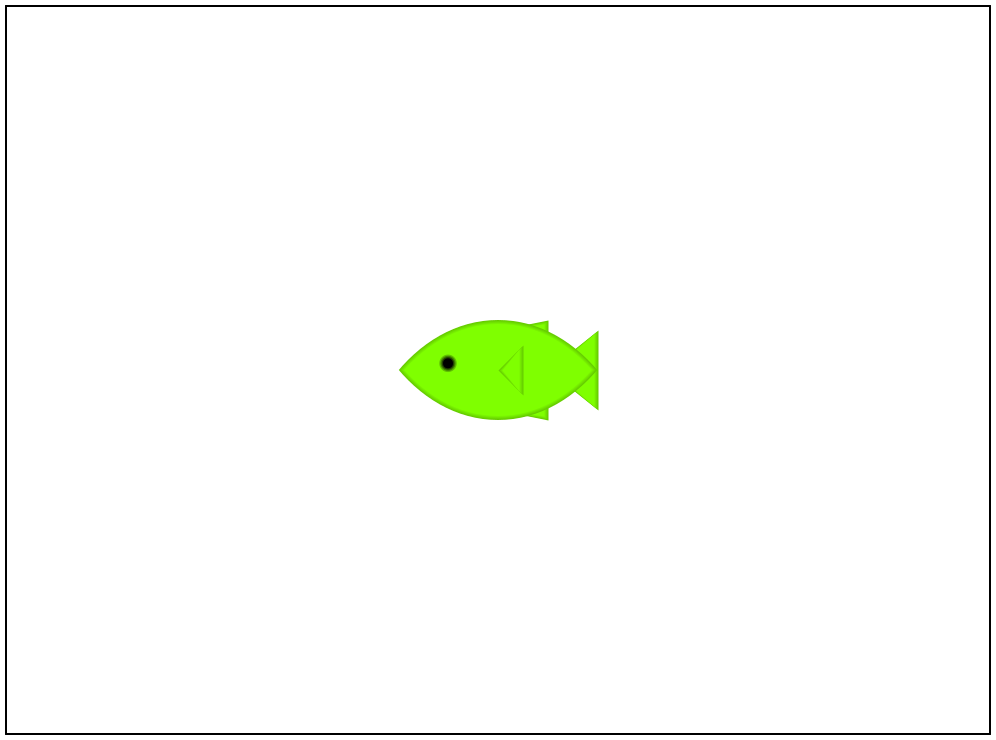
Diagrams drawn using the pict library can be inserted directly
into the document:
(begin (require pict)
       (slide (standard-fish 200 100 #:color "chartreuse"))))
For more on the basics, the documentation has a tutorial. Next I'll go over some tips that show various slideshow features.
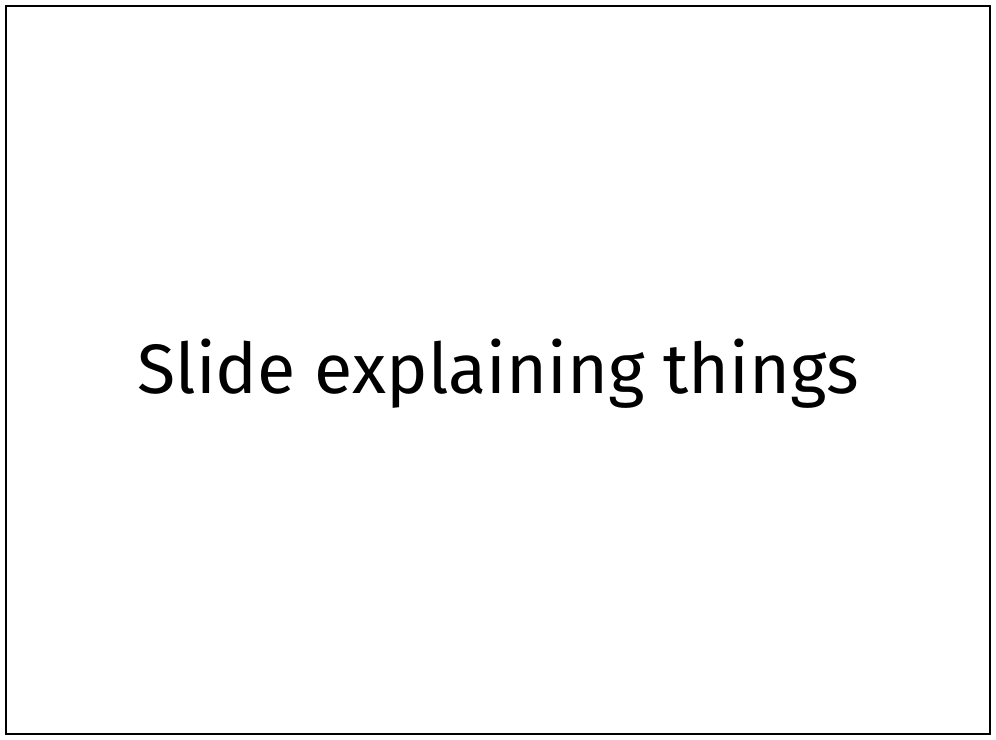
Tip #1: avoid default text options
The easiest way to avoid the "slideshow look" is to use a non-default font
face and to avoid using the #:title keyword:
(begin (current-main-font "Fira Sans")
       (current-font-size 70)
       (slide (t "Slide explaining things"))))
Avoiding #:title helps to discourages slides that are just a title and
a ton of bullet points.
Do use multiple font weights and styles to differentiate text on a single slide:
(begin (current-main-font "Fira Sans")
       (current-font-size 70)
       (slide (t "Very important topic")
              (text "Details of important topic"
                    "Fira Sans, ExtraLight"
                    (current-font-size)))))

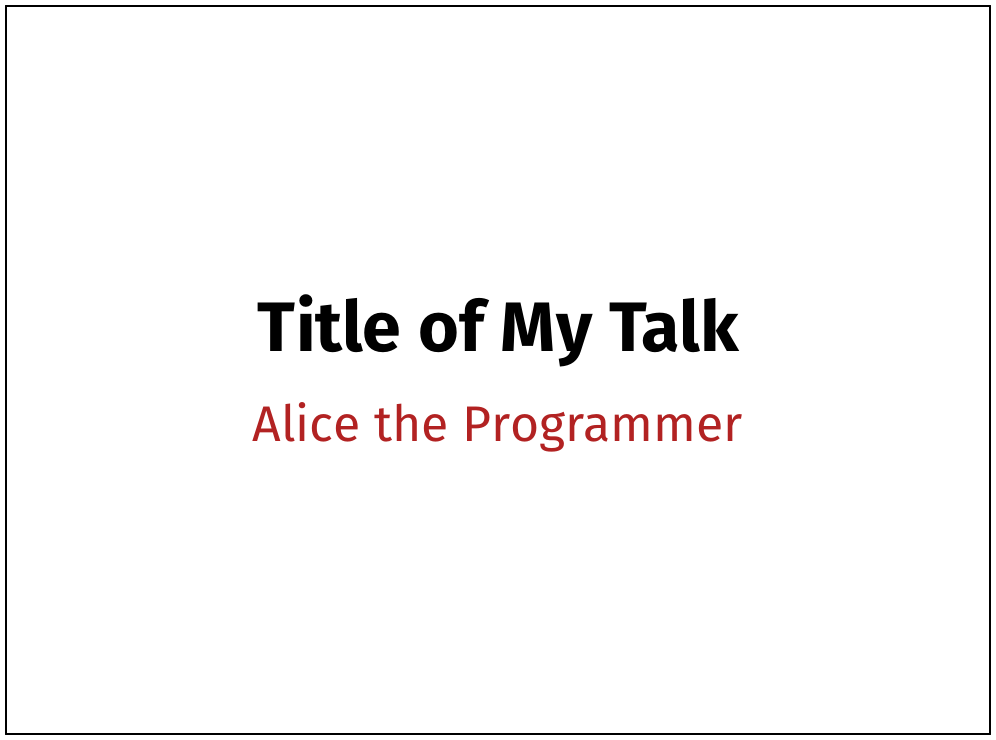
I also wrote a library you can use to make it easier to use multiple text styles in your presentation:
(begin (require slideshow-text-style)
       (with-text-style
         #:defaults (#:face "Fira Sans")
         ([heading #:size 70 #:bold? #t]
          [auth #:size 50 #:color "firebrick"])

         (slide (heading "Title of My Talk")
                (auth "Alice the Programmer")))))
See the docs for more details. It's a third-party package, so you will have to get it from the package server. If you're not sure how to install a package, check out this page in the docs.
Tip #2: use ppict & pslide
One of the pitfalls that's easy to fall into is making all slides consist of
centered or bulleted text in one column. Slideshow encourages that kind of
slide layout, but it's possible to escape this by using Ryan Culpepper's
excellent ppict library:
(begin (require ppict/2 ppict/slideshow2)
       (with-text-style
         #:defaults (#:face "Fira Sans, Condensed")
         ([h #:size 70]
          [t #:size 50 #:face "Fira Sans, Light"])

         (pslide #:go (coord 0.1 0.1 'lt)
                 (h "Research idea")
                 #:go (coord 0.2 0.5 'lc)
                 (t "A DSL for standard fishes")
                 #:go (coord 0.8 0.8)
                 (standard-fish 200 100 #:color "tomato")))))
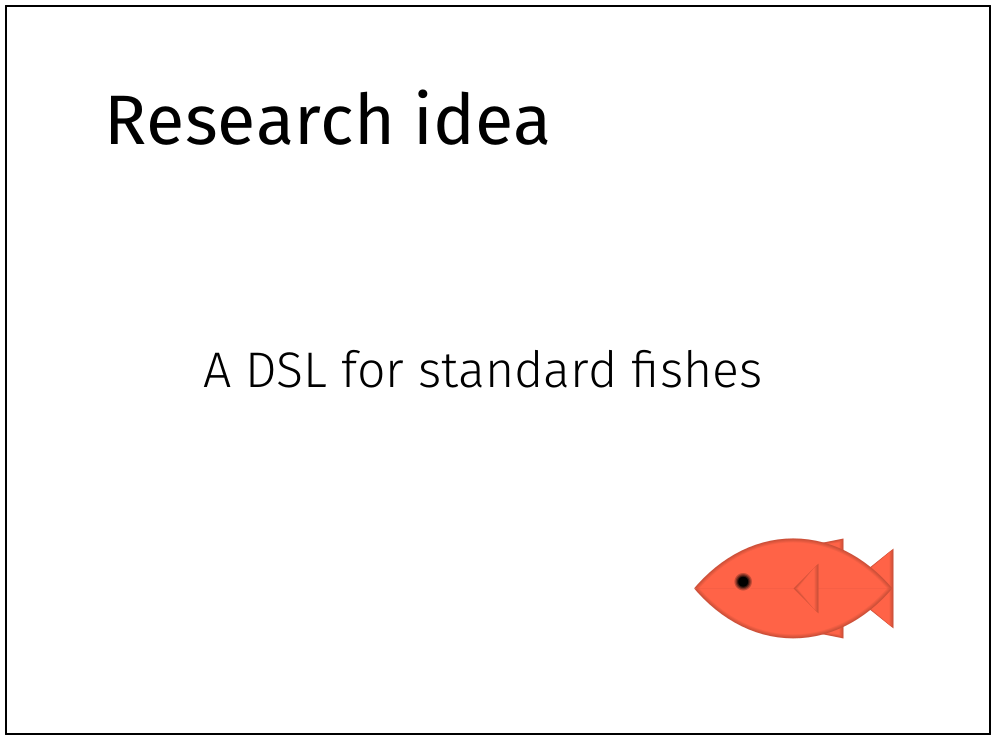
The ppict library comes with a pslide function that functions like
slide but allows relative placement of slide items.
For example, the (coord 0.1 0.1 'lt) placement specifies that the
slide item should go at 10% from the left and top of the slide. The 'lt
tells ppict to align the item's top left corner at the coordinate.
Aside from building slides, ppict is also useful for building diagrams to put in slides (or documents, etc):
(begin (require ppict/2 ppict/slideshow2)
       (require racket/random)
       (define fishes
         (for/fold ([pic (blank 500 500)])
                   ([n 5])
           (ppict-do
            pic
            #:go (coord
                  (random)
                  (random)
                  (random-ref '(lt lb lc rt rb rc cc)))
            (standard-fish (random 60 90)
                           (random 30 50)
                           #:color
                           (random-ref
                            '("red" "green" "blue"))))))
       (pslide fishes))
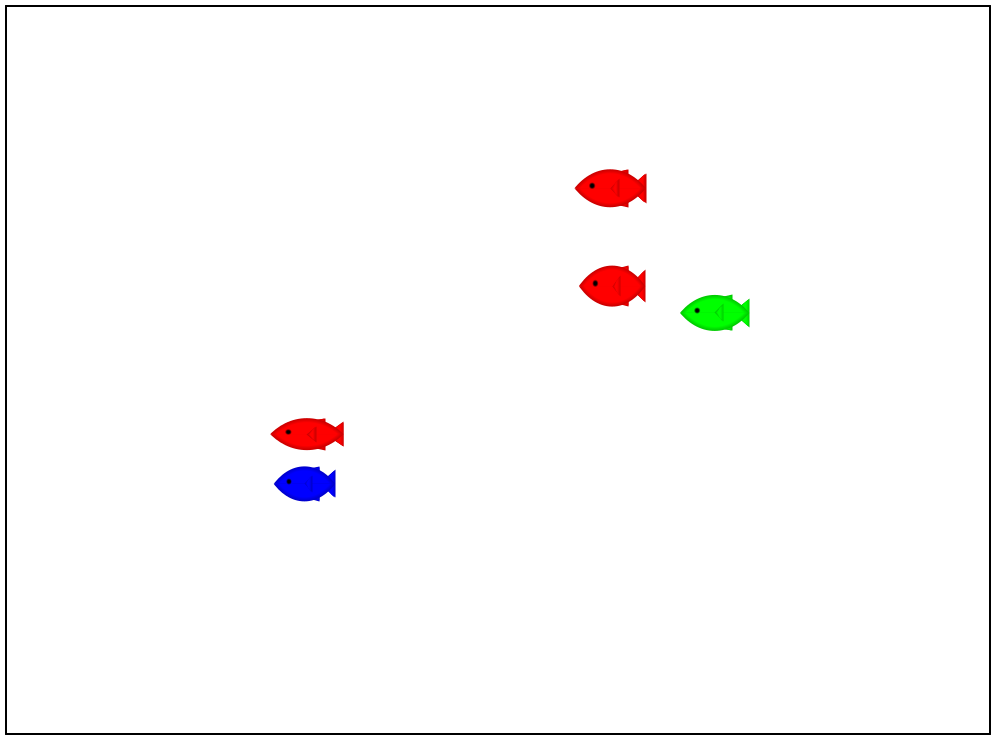
(I don't know what this diagram will look like on the blog ahead of time since it's actually random)
The ppict library can also be downloaded from the package server.
Tip #3: use colors
Too many slideshow presentations are mostly black and white. A convenient way to
pick colors is to use the built-in colors in the standard color-database<%>
such as "firebrick", "royalblue", and so on. Of course, you can
also use any color you want with make-color from racket/draw
given an RGB value.
Tip #4: use more shapes, backdrops
In some cases, it can help to add backdrops and interesting shapes into the mix.
The pict library has a number of primitives and combinators that can
help you achieve that:
(begin (require pict racket/draw ppict/slideshow2)

       (pslide #:go (coord 0.5 0.5)
               (cc-superimpose
                (filled-rectangle
                 client-w 300 #:color "firebrick")
                (colorize
                 (text "Conclusion: 1 + 1 = 2"
                       "Fira Sans, Condensed, Heavy" 80)
                 "white"))))
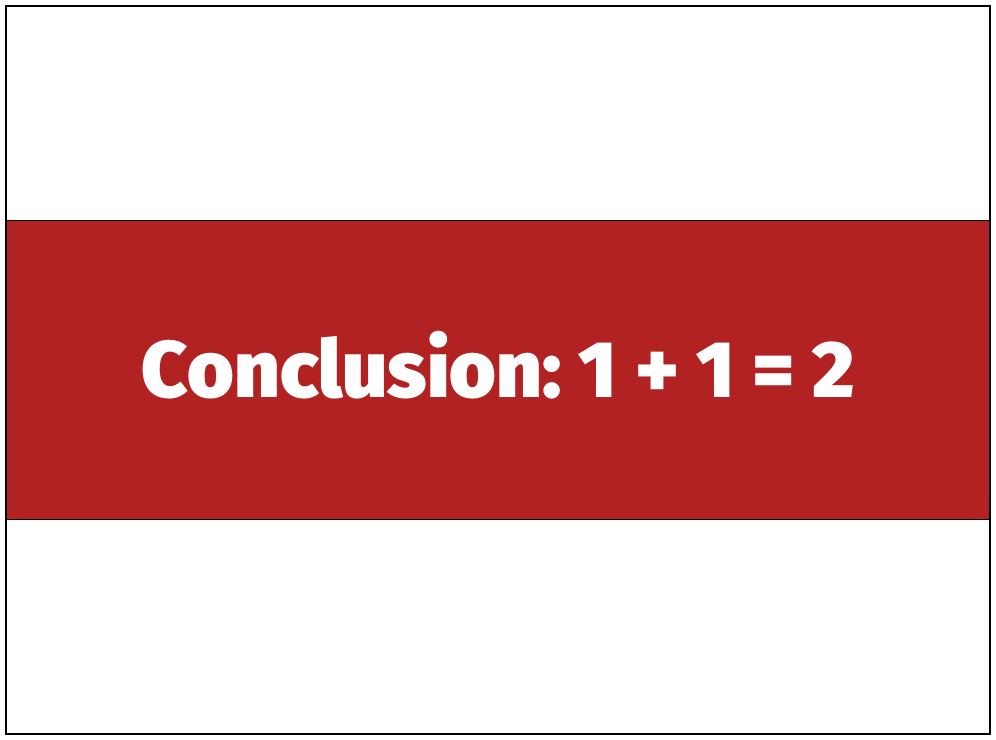
The filled-rectangle primitive makes a rectangle picture we can use
as a backdrop by combining it with cc-superimpose (superimposes a pict on
top of another). The client-w variable is the width of the slideshow
screen.
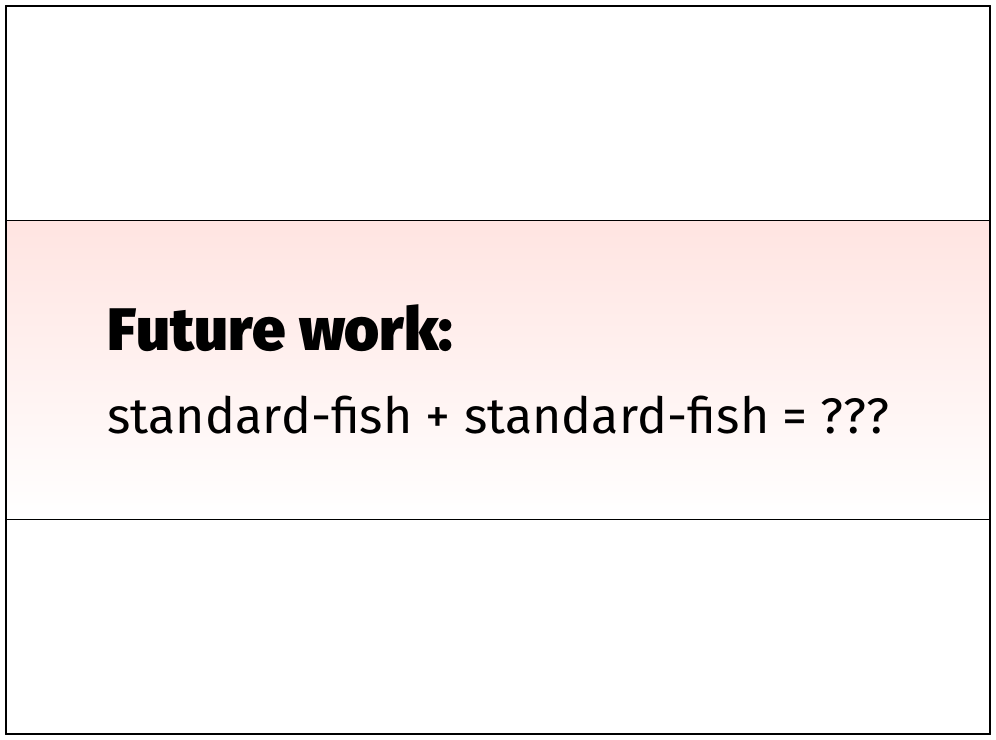
You can also build your own drawing primitives using dc. The next
example shows an example of how you can use dc to implement some
gradients. The details aren't too important to understand here. The point is
that you can do arbitrary drawing (with racket/draw)
into your slide presentation if you want to:
(begin (require pict racket/draw ppict/slideshow2)

       (define (rectangle/2t
                width height
                #:border-width [border-width 1]
                #:border-color [border-color "black"]
                #:color-1 [color-1 "white"]
                #:color-2 [color-2 "black"])
         (dc (λ (dc dx dy)
               (define old-brush
                 (send dc get-brush))
               (define old-pen
                 (send dc get-pen))
               (define gradient
                 (make-object
                  linear-gradient%
                  dx dy
                  dx (+ dy height)
                  `((0 ,(make-object color% color-1))
                    (1 ,(make-object color% color-2)))))
               (send dc set-brush
                 (new brush% [gradient gradient]))
               (send dc set-pen
                 (new pen% [width border-width]
                           [color border-color]))
               (send dc draw-rectangle dx dy width height)
               (send dc set-brush old-brush)
               (send dc set-pen old-pen))
             width height))

         (pslide #:go (coord 0.5 0.5)
                 (cc-superimpose
                  (rectangle/2t client-w 300
                                #:color-1 "mistyrose"
                                #:color-2 "white")
                  (vl-append 20
                   (text "Future work:"
                         "Fira Sans, Heavy" 60)
                   (text "standard-fish + standard-fish = ???"
                         "Fira Sans" 50)))))
Tip #5: staged slides
Slide staging is also really useful in certain cases. Staging lets you use a single slide specification to produce multiple varying slides. For example, if you want a picture to only show up after a slide transition.
The slideshow/staged-slide
library (by Carl Eastlund and Vincent St-Amour) makes it really easy:
(begin (require slideshow/staged-slide)
       (require pict/conditional)

       (slide/staged [blue pink green+pink]
         (text "Staged fishes" "Fira Sans" 50)
         (blank 1 30)
         (show (standard-fish 200 100 #:color "pink")
               (at/after pink))
         (show (standard-fish 200 100 #:color "royalblue")
               (at blue))
         (show (standard-fish 200 100 #:color "forestgreen")
               (at green+pink))))
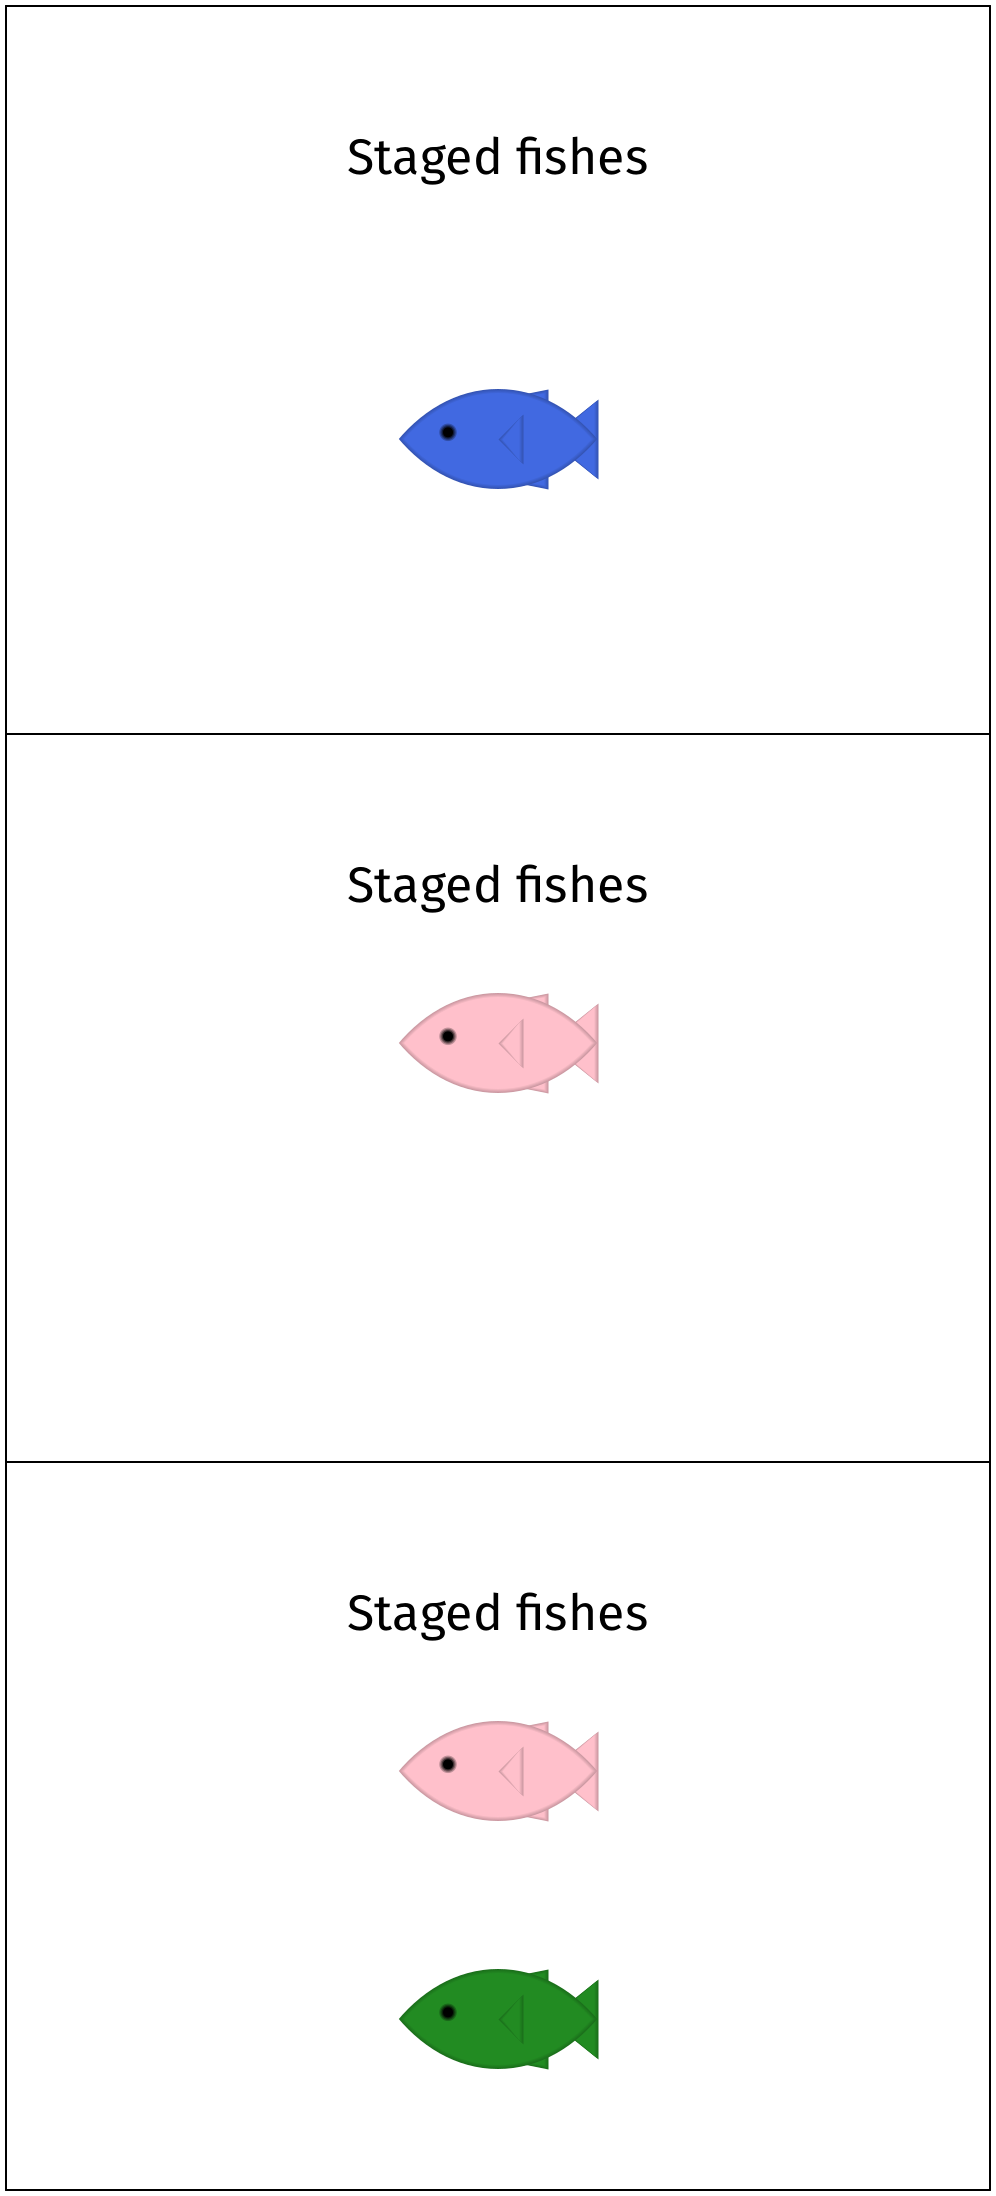
The slide/staged macro works like a typical slide except that
an additional list of stage bindings are provided. These stage names are
just bound to a number that is an index for the stage.
The show function conditionally displays a slide item based on
a condition, like at or at/after.
You can also combine pslide and slide/staged with a simple
macro:
(define-syntax-rule (pslide/staged [name ...] arg ...)
  (staged [name ...] (pslide arg ...)))
(BTW: staged slides are not a core library so you will have to install the package)
Tip #6: animations
Slide animations should be used sparingly probably, but it's sometimes helpful or just fun to put some in.
The play function from slideshow/play lets you animate
slides. The docs are kind of intimidating for this function, but it's not too
hard to use for simple cases:
(begin (require ppict/2
                slideshow/play)

       (play #:steps 3
        (lambda (x-coord)
          (ppict-do (blank client-w client-h)
           #:go (coord x-coord 0.5)
           (standard-fish 100 50
            #:direction 'right)))))
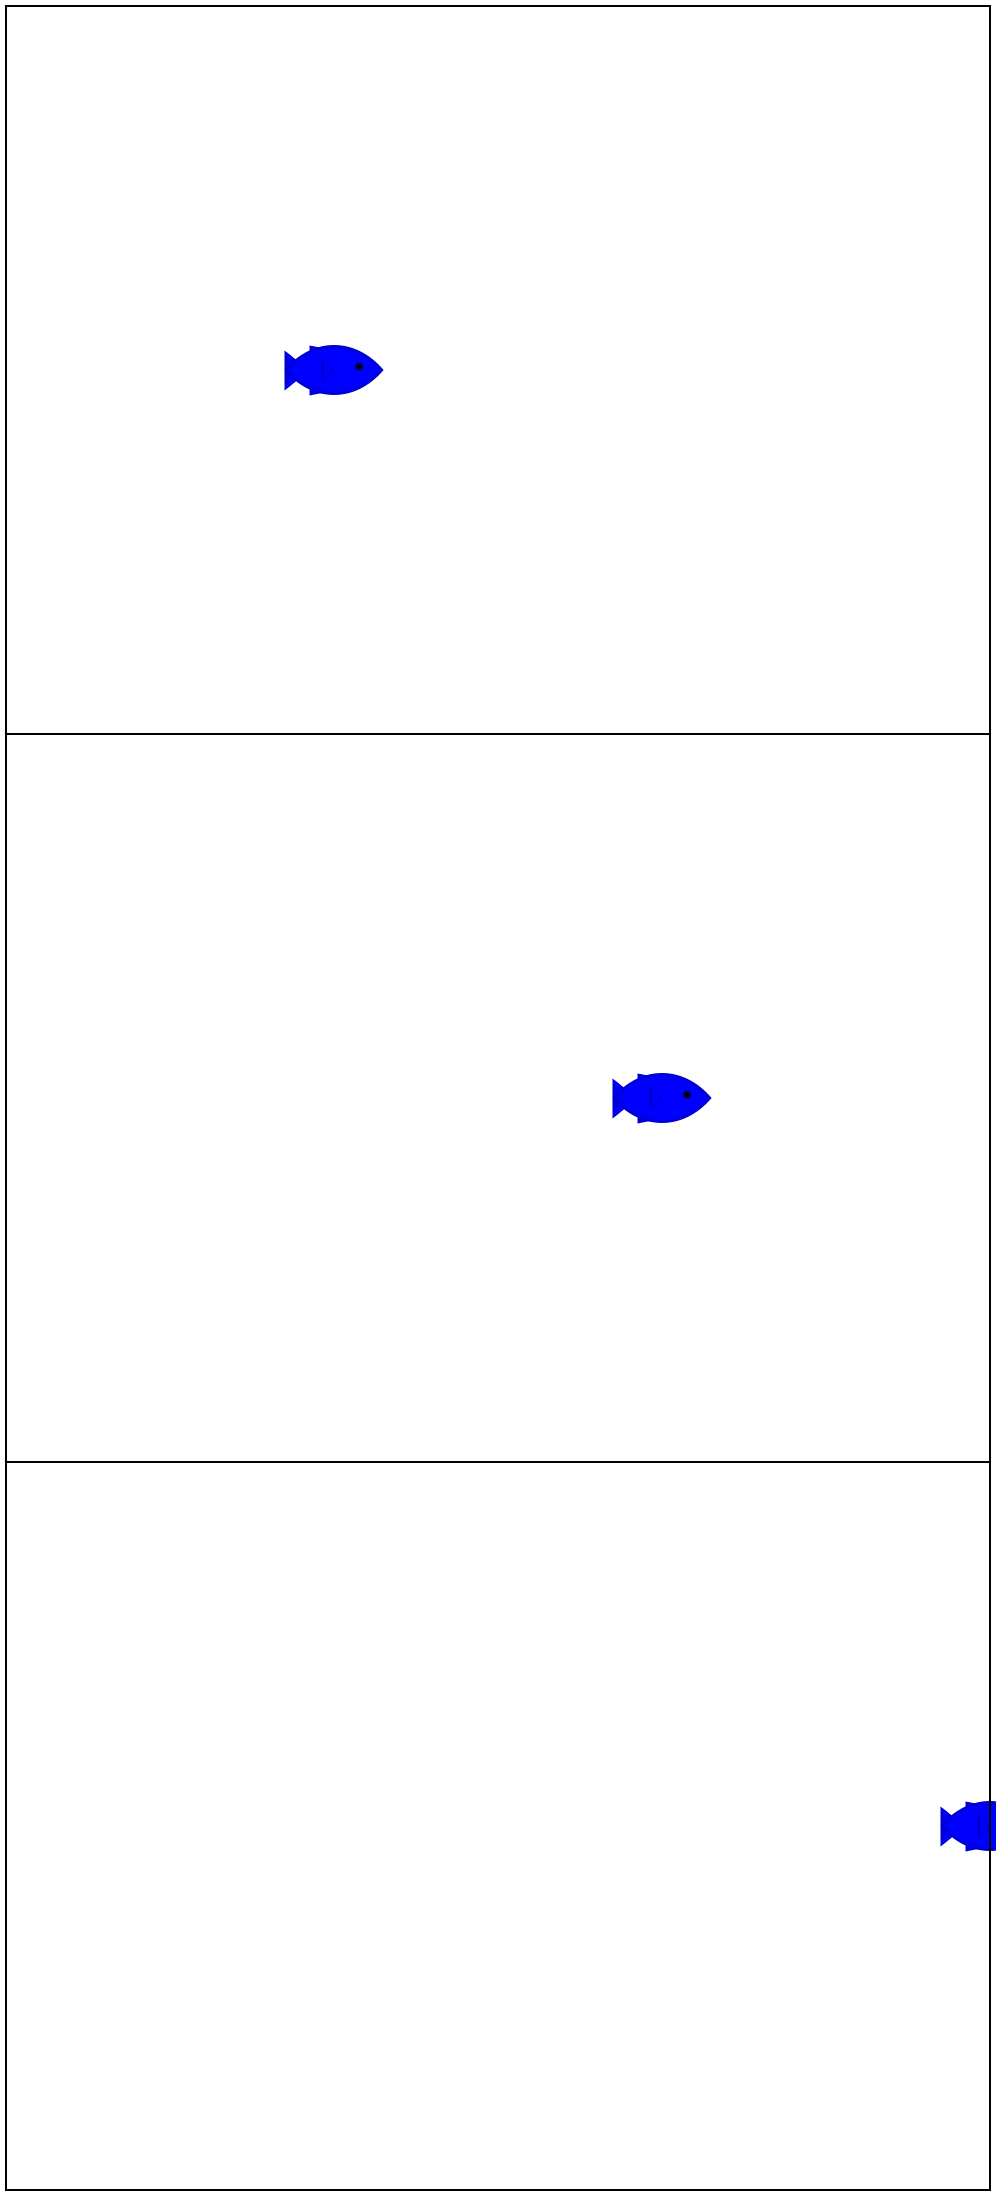
An animation is basically a staged slide where there are many stages that are played automatically (without transitions) to produce motion on the slide.
The play function used above takes a function argument. This function
should take a number (a "slide stage" between 0 and 1) and turn that into a
picture.
The #:steps argument determines how smooth the animation looks by
varying the number of intermediate slides there are.
In this case, the code is using ppict-do to make a fish move across
the screen by varying the x-coordinate for its placement.
Using play can get quite verbose, so there's a nice macro you can
steal that integrates pslide and animations:
(begin (require ppict/2 slideshow/play)
       (require (for-syntax syntax/parse))

       (define-syntax (pslide/play stx)
         (syntax-parse stx
           [(_ (~optional (~seq #:steps steps)
                  #:defaults ([steps #'20]))
               (~optional (~seq #:delay delay)
                  #:defaults ([delay #'0.01]))
               [n ...] body ...)
            #'(play-n (λ (n ...)
                        (ppict-do (blank client-w client-h)
                                  body ...))
                      #:steps steps
                      #:delay delay)]))

       (pslide/play #:steps 3 [x-coord]
        #:go (coord x-coord 0.5)
        (standard-fish 100 50 #:direction 'right)))
If you are ambitious, you may also find this staged, animated, pslide macro useful:
(define-syntax-rule (pslide/play/staged [stage ...]
                                        [n ...]
                                        body ...)
  (staged [stage ...]
    (pslide/play [n ...] body ...)))
Further resources
There's a lot more to say about slideshow mechanics, but I think this is enough for a single blog post. For some inspiration for what you can do with slideshow, check out these talk videos that have some impressive slideshow hackery:
- Robby Findler's "Run Your Research": https://www.youtube.com/watch?v=BuCRToctmw0
- Matthew Flatt's talk on Scribble: https://vimeo.com/6630691
- Many of the RacketCon talks were built with slideshow: https://www.youtube.com/channel/UC8uSLYDanXDnP9Yn8UrTNzQ
Also, Matthew Butterick's Practical Typography has a section on slide presentations that is worth taking a look at (actually the whole book is worth looking at).